If you’re looking for a DIY desk project that’s simple, stylish, and practical, pairing hairpin legs with a birch plywood top is a winning combination. This design has become increasingly popular in recent years thanks to its modern look, affordability, and the fact that it can be built with only basic tools.
In this guide, we’ll cover everything you need to know about making your own desk—from choosing the right plywood and legs to cutting, sanding, and finishing for a professional result.
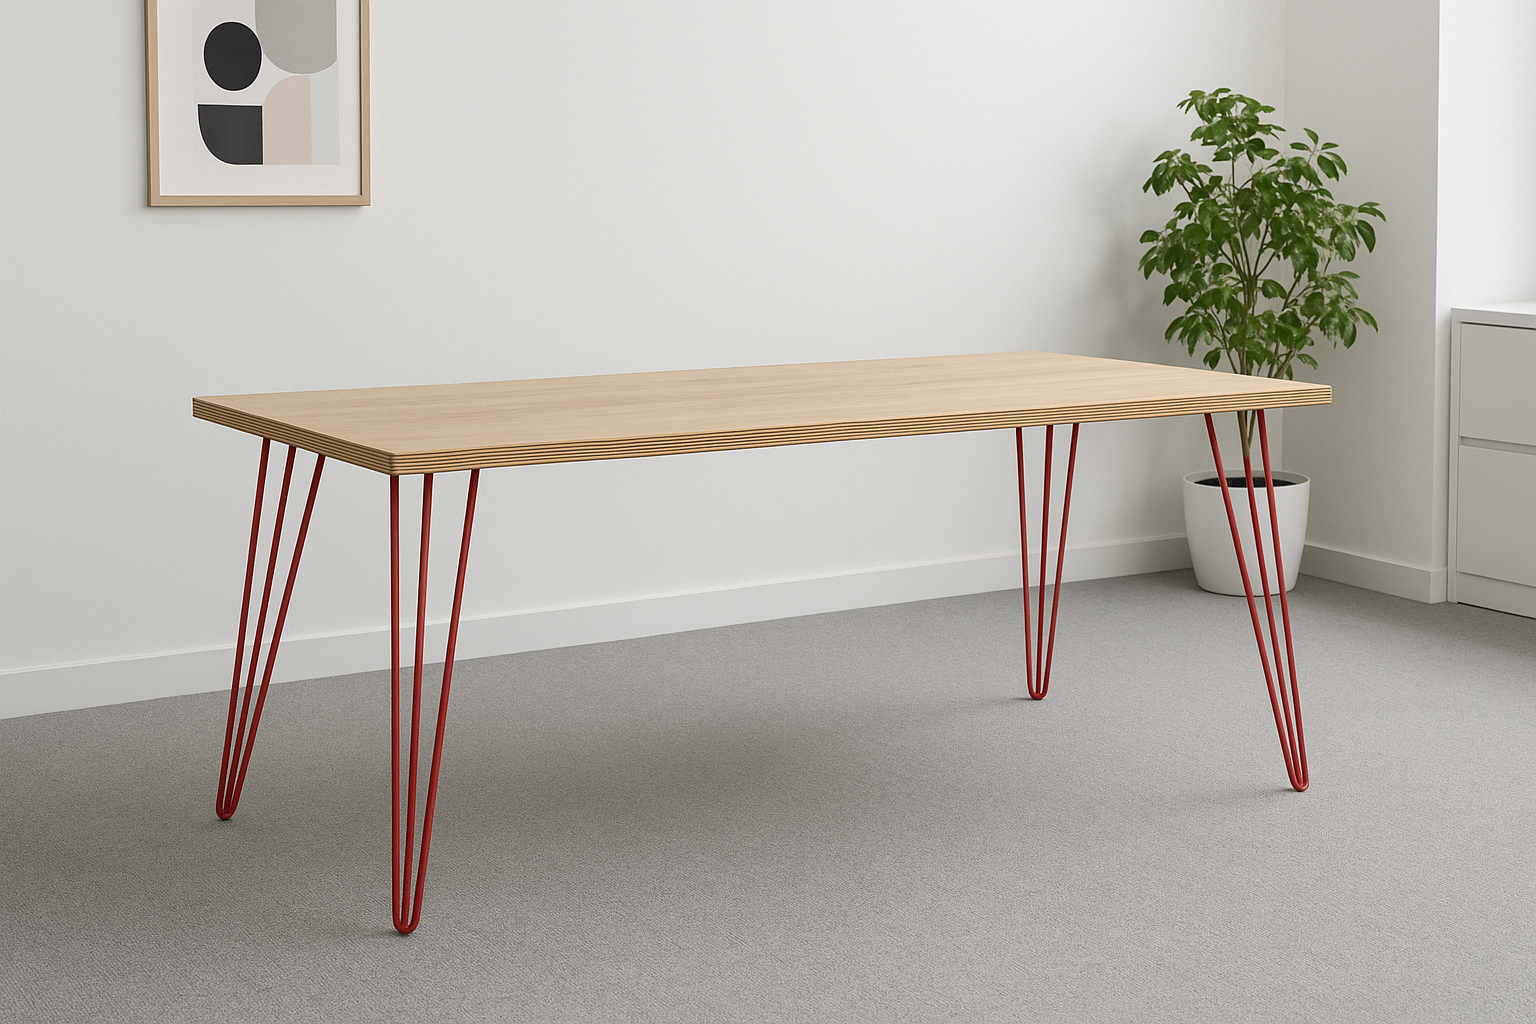
Why Choose a Desk with Hairpin Legs?
A desk with hairpin legs has a clean, minimal aesthetic that fits effortlessly into different interiors. The style feels modern yet timeless: the slim steel legs give it a lightweight, almost floating appearance, while the wooden top adds warmth.
This makes it versatile enough for many settings. It’s perfect for Scandinavian interiors with pale woods and natural tones, but also works beautifully in industrial spaces with concrete and steel. In contemporary minimalist homes, it offers just the right amount of presence without overpowering a room. And because hairpin legs were originally designed in the 1940s, they also suit mid-century modern décor.
What Are Hairpin Legs Made Of?
Hairpin legs are typically formed from steel rods bent into a U-shape and welded to a small mounting plate. Most versions use two or three rods per leg, which increases strength while maintaining their slim profile. They get their name from their resemblance to the classic bent wire hairpin.
You can find them in raw steel for a rugged industrial feel, or powder-coated in black, white, or brighter colours. Their versatility means you can choose whether the legs blend subtly into the background or stand out as a feature.
Why Birch Plywood Is Ideal for Desk Tops
Unlike cheaper softwood plywood used in construction, birch plywood is made from multiple thin layers of hardwood veneer. These layers make it much denser, stronger, and more stable than pine or spruce plywood. It also has a smooth, fine-grained surface that is easier to sand and finish.
Birch plywood has become especially popular for furniture because of its distinctive layered edge, which many people now choose to leave exposed as a design feature. It also fits with the rise of Scandinavian and Japanese-inspired interiors, where natural, minimal materials are prized.
Choosing the Right Thickness: 18mm vs 24mm
One of the first decisions you’ll make is whether to use 18mm or 24mm thick birch plywood. An 18mm top is lighter, cheaper, and has a sleeker look. It’s fine for smaller desks but may start to sag if the desk is more than about 150cm long.
For larger or heavier-use desks, 24mm is the better choice. It has a more substantial feel, resists sagging, and gives the finished desk a premium presence, while still looking modern and minimal.
The Realities of Using Plywood
It’s important to remember that plywood, even birch, isn’t flawless. You may see small patches where knots have been replaced, and sometimes there are minor scratches or colour variations. These quirks don’t affect performance and often add character, but if you’re looking for a perfectly uniform solid wood look, you may be disappointed.
Cutting the Plywood to Size
If you’re cutting the sheet yourself, use a circular saw with a fine-tooth blade, or even better, a track saw for maximum accuracy. Always measure carefully and mark clearly before cutting. Wear goggles, hearing protection, and a dust mask, and use dust extraction if possible since plywood dust can be very fine.
If you don’t have access to good saws, many suppliers offer pre-cut plywood. Ordering your desktop cut to size guarantees perfect edges, reduces waste, and saves time. The downside is a slightly higher price per square metre, but it’s often worth it for the convenience.
Preventing Sagging on Longer Desks
If your desk is more than 150cm long, you may want to reinforce it with a batten, sometimes called a “spine,” running lengthwise underneath. This provides extra stiffness and prevents sagging over time, especially if you’ve chosen the thinner 18mm option.
Positioning the Hairpin Legs
When attaching the legs, position them about 5–8cm in from each corner. This ensures stability without compromising legroom. If the desk will sit against a wall, check the placement carefully to make sure the legs don’t bump into the skirting board.
Sanding the Plywood
Birch plywood sands very smoothly, but care is needed. The top veneer is thin, so don’t overdo it with a power sander. Start with 120-grit sandpaper and finish with 180 or 240 for a silky surface. For the edges, hand sanding is safer and gives you more control. Even a light easing of sharp corners makes the desk much more pleasant to use.
Making Pilot Holes and Shaping Edges
Always drill pilot holes before attaching the legs. Driving screws directly into plywood risks splitting and makes it harder to secure the screws neatly. Choose screws that are short enough not to punch through the top.
For the edges, you can add a little refinement. A router allows you to create a clean chamfer or rounded edge, but you can also simply sand them by hand to soften the corners. Leaving the ply edges exposed highlights the layered look and adds to the desk’s modern appeal.
Finishing the Desk Top
A finish is essential to protect the wood and enhance its beauty. Hardwax oil is a great choice, as it’s easy to apply, brings out the grain, and leaves a natural matte finish. Oils like Danish or tung oil penetrate the wood for warmth but may need reapplying over time. Varnishes and polyurethanes provide the toughest protection but can look glossy if not applied carefully. For best results, apply multiple thin coats and lightly sand between them.
Conclusion
Building your own desk with hairpin legs and a birch plywood top is a rewarding project that combines practicality with style. The materials complement each other perfectly: slim steel legs provide strength without bulk, while birch plywood adds warmth and modern character. With the right thickness, careful cutting or pre-cutting, thoughtful sanding, and a good finish, you’ll end up with a piece that looks professional and lasts for years.
Whether you want a simple home office setup, a creative workspace, or a stylish addition to your living room, this DIY desk design is versatile, affordable, and achievable even for beginners.
