Building your own desk is a rewarding way to create something practical, affordable, and full of character. One of the most popular approaches in recent years has been to use scaffold boards for the top and pair them with box section steel legs. This combination blends industrial strength with rustic charm, creating a desk that looks bold and stylish while remaining functional and durable.
The Style of the Desk and Where It Belongs
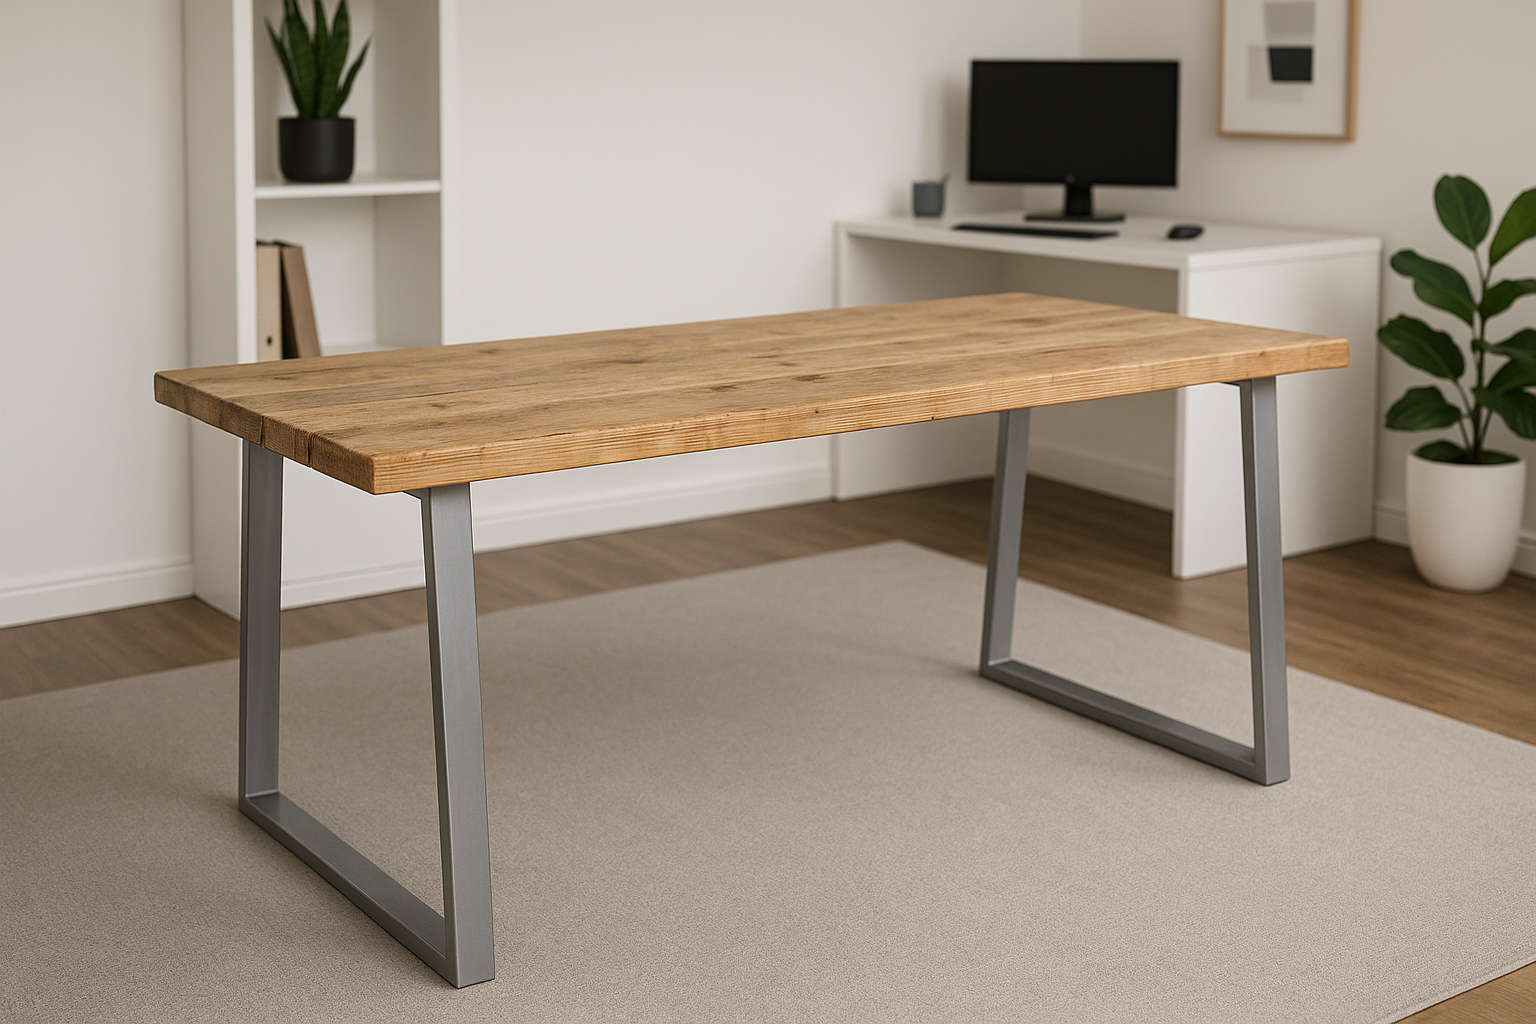
A desk built with scaffold boards and box section steel legs has a strong, architectural look. The boards bring warmth and texture, while the squared metal legs add a sense of structure and presence. Unlike hairpin legs, which are slim and delicate, box section legs are heavier visually, giving the desk more substance and a grounded feel. This style suits industrial lofts, contemporary apartments, modern rustic homes, and creative studios where a piece of furniture needs to be both practical and eye-catching. It is a desk that feels substantial, reliable, and unapologetically modern.
What Box Section Steel Legs Are and How They Look
Box section legs are made from hollow square or rectangular steel tubing, welded into rigid frames. Their squared profile gives them sharp, geometric lines, which feel more architectural than the curves of hairpin legs. They are strong enough to support heavy tops like scaffold boards without flexing, and they can be made in rectangular, trapezoid, or even custom shapes depending on the supplier. The look is solid and professional, and the legs make the desk feel like it belongs as much in an office as in a home.
Why Box Section Legs Combine Well with Scaffold Boards
Scaffold boards are chunky, rustic, and full of character. Pairing them with slim legs might make the top feel overpowering, but box section legs provide balance. The steel frames mirror the substance of the boards, resulting in a desk that feels cohesive and solid. The contrast between rough, weathered wood and sleek, modern steel is striking and makes the desk stand out as a piece of industrial-inspired furniture. Together, they create a balance of old and new, rugged and refined.
Choosing the Right Colour for the Legs
Box section legs are usually available in black, white, or natural steel. Black is the most versatile choice, pairing effortlessly with the warm tones of scaffold boards. White feels lighter and works especially well in modern or Scandinavian-inspired interiors. Natural steel has an authentic industrial look but usually needs sealing to prevent rust. If you want a bespoke colour, you can paint the legs yourself. To do this properly, sand the steel lightly first, then paint with a brush or spray. Spraying usually produces a smoother, more even finish, while brushing allows for touch-ups. Adding a clear protective coat afterwards will improve durability.
Why Scaffold Boards Are Popular for DIY Furniture
Scaffold boards have become a staple for DIY furniture because they are affordable, readily available, and inherently robust. Originally designed for construction, they are thick, strong planks of softwood, usually around 38mm thick and 225mm wide. Their size makes them perfect for repurposing into furniture without needing a complex frame. Reclaimed scaffold boards carry marks, dents, and even paint splashes from years of use, which add to their rustic character. For a cleaner look, new boards can be bought untreated and sanded to a smooth finish. Either way, they bring authenticity and charm that flat-pack materials can’t match.
Dimensions of Scaffold Boards
Standard scaffold boards measure approximately 225mm in width and 38mm in thickness, with lengths up to around 3.9m. To make a desk, you usually join two or three boards edge to edge, depending on the size of the top you want. Their thickness means they can support weight well, and their width makes them practical to join together into panels.
The Realities of Using Scaffold Boards
Scaffold boards are natural wood, so you should expect imperfections. Reclaimed boards may have knots, cracks, dents, and even metal end bands. While many people value this rugged look, others may prefer new boards for a smoother finish. It’s worth remembering that wood is a living material, and its variations are part of its beauty.
Cutting the Boards to Size
If you’re cutting the boards yourself, a circular saw will do the job, but a mitre saw or track saw will give the cleanest results. Measure carefully, mark your cuts clearly, and clamp the boards securely before cutting. Safety is crucial—scaffold boards are heavy, so use protective goggles, hearing protection, and a dust mask. A dust extractor is useful to control sawdust and keep the work area cleaner.
If you don’t have the right saws, many suppliers sell scaffold boards pre-cut to size. This eliminates the need for heavy cutting, reduces waste, and ensures perfectly square edges. The downside is a higher cost per square metre, but the convenience is often worth it.
Joining Scaffold Boards Together
To create a wider desktop, you’ll need to join several boards side by side. The best method is to glue the edges and clamp them tightly until dry. For stronger joints, you can add dowels or wood biscuits, which help with alignment as well as durability. If you don’t want to glue, you can attach battens across the underside to hold the boards together. This is quicker but often leaves small gaps between boards, which may not be ideal for a writing surface.
Preventing Cupping and Sagging
Wood naturally moves with changes in humidity, and scaffold boards are no exception. Over time, they can cup, meaning the edges curve slightly. To prevent this, you can attach bars running across the underside of the desk. Wooden strips screwed in place are the simplest option, while metal bars routed into the underside provide stronger reinforcement but are more expensive and harder to fit. For desks longer than around 150cm, adding a lengthwise batten or spine underneath helps prevent sagging.
Positioning the Box Section Legs
When attaching box section legs, place them around 5–8cm in from each end. This gives the desk stability without the legs sticking out awkwardly. If the desk is going against a wall, make sure the legs won’t clash with the skirting board. It’s also worth sitting at the desk to check legroom before committing, as box section frames can take up more space than slim hairpin legs.
Sanding Scaffold Boards
Sanding scaffold boards is essential to turn them into a comfortable work surface. An electric sander makes the process quicker, starting with a coarse grit to remove roughness and then working up to a fine grit for smoothness. Always sand with the grain where possible. If you don’t own a sander, sanding by hand is perfectly possible, though it will take more time. Many DIY enthusiasts enjoy the process, finding it part of the satisfaction of working with real wood.
Pilot Holes and Edge Profiles
Before screwing the legs into place, always drill pilot holes. This prevents the boards from splitting and makes it easier to drive in screws. You can also shape the edges of your desktop for a more refined look. A router can create a rounded or chamfered profile, while hand sanding the corners will soften them just enough to make the desk more comfortable to use.
Finishing the Desk Top
Finishing is the final step that protects the wood and enhances its appearance. Hardwax oil is a great choice for scaffold boards, giving a natural matte finish while highlighting the grain. Other oils like Danish or tung oil provide a warmer tone but may need reapplying periodically. Varnishes and polyurethanes offer the most durable surface, protecting against spills and scratches, though they can sometimes appear shiny. Apply several thin coats, sanding lightly between each one, to achieve a smooth, professional finish.
Conclusion
A desk built with box section steel legs and scaffold boards is a project that brings together the best of industrial and rustic design. The robust wood gives warmth and character, while the strong steel legs add structure and a contemporary edge. With careful preparation—cutting, joining, sanding, reinforcing, and finishing—you can create a desk that is not only practical but also a statement piece in your home or office.
This style is ideal if you want something bold and durable, with a look that balances rough timber with modern steel. Whether you use reclaimed boards for character or new ones for a cleaner finish, the result will be a desk that feels substantial, stylish, and unique.
