Creating your own desk is a fantastic way to combine style, practicality, and affordability. While solid oak is beautiful and timeless, it is also heavy and expensive. For many people, an oak veneer top paired with steel box section legs offers the perfect balance: the warmth and appearance of oak without the weight and cost, supported by strong steel legs that give the desk a contemporary edge. The result is a stylish, versatile piece of furniture that works well in almost any interior.
The Style of the Desk and Where It Belongs
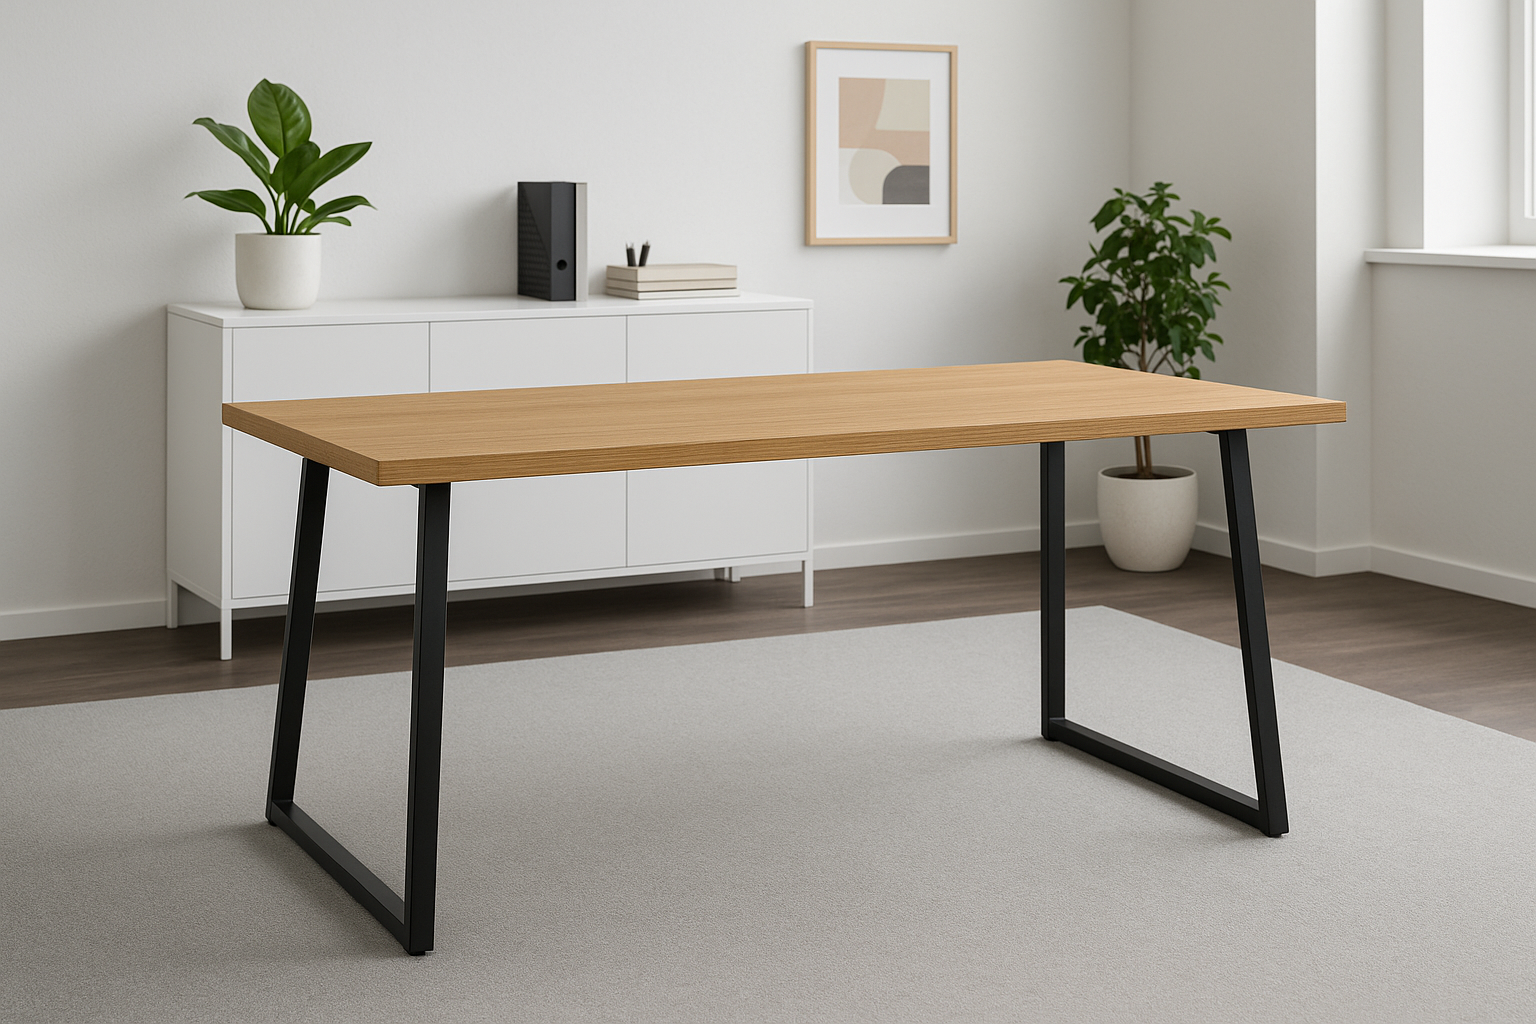
A desk with an oak veneer top and steel box section legs has a clean, modern look that bridges natural and industrial design. The oak veneer provides the character and warmth of real wood grain, while the steel legs add structure, geometry, and strength. Together, they create a desk that feels both substantial and elegant. This style suits contemporary apartments, modern rustic homes, minimalist offices, and creative studios. The look is professional without being overly formal, and the combination of wood and steel allows the desk to blend into a wide range of décor.
What Box Section Steel Legs Are and How They Look
Box section legs are made from square or rectangular hollow steel tubing, welded into rigid frames. Their straight lines and sharp geometry give them an architectural quality, making the desk feel grounded and substantial. They are extremely strong and can support heavy tops without flexing. Unlike delicate hairpin legs, box section legs provide a bolder, more structured presence, making them ideal for a veneered desk top that you want to feel professional and reliable.
Why Oak Veneer and Steel Combine So Well
Oak veneer is a thin slice of real oak bonded onto a stable core material such as MDF or particleboard. This gives you the look and feel of solid oak at a fraction of the weight and cost, with the added benefit of greater stability. It doesn’t warp or move in response to seasonal changes the way solid wood does. Paired with steel box section legs, the result is a desk that looks natural, feels modern, and offers strength and practicality. The steel balances the lightness of the veneer, while the oak veneer softens the industrial edge of the steel.
Choosing the Right Colour for the Legs
Steel legs are commonly available in black, white, or natural steel. Black is the most versatile, pairing beautifully with the warm tones of oak veneer. White feels fresh and airy, working well in Scandinavian or minimalist interiors. Natural steel has a raw, industrial quality but must be sealed to prevent rust. If you want a custom colour, you can paint the legs yourself. Sand them lightly first, then apply either spray paint for a smooth finish or brush paint for a more hands-on approach. A clear topcoat adds extra protection against scratches and wear.
Why Oak Veneer Is a Practical Choice
Oak veneer sits between solid oak and cheap laminates. Unlike laminates, which are printed imitations, veneer is real oak on the surface, so it has genuine grain and texture. Unlike solid oak, it is bonded to a stable core, which makes it less prone to expansion, contraction, or cupping. Veneer cannot be sanded and refinished as many times as solid oak because the surface layer is thin, but with careful use, it can last many years while still offering the same natural look. It is lighter and more affordable than solid oak, making it a practical option for many DIY furniture projects.
Choosing the Thickness of the Veneered Board
Oak veneered boards are usually available in thicknesses of 18mm, 22mm, or 25mm. Thicker boards give the desk a more substantial look and reduce the risk of sagging over longer spans. Eighteen millimetres is fine for a small desk, while 22–25mm is better for larger tops or heavier use. Because veneer is lighter than solid oak, going a little thicker is often a good idea to achieve a sturdy feel.
The Realities of Using Veneer
Veneer is beautiful but needs a little care. The surface is thin, so sanding must be done gently to avoid going through to the substrate underneath. Veneered boards can sometimes show small seams or patches where sheets of veneer are joined, but these are usually subtle and disappear once the desk is finished. Unlike solid oak, veneer doesn’t have the same depth of character, but it provides a convincing oak look at a much lower cost.
Cutting Veneered Boards to Size
If you’re cutting veneer yourself, precision is important to avoid chipping. A circular saw with a fine-tooth blade works, but a track saw gives the cleanest cuts. Scoring the cut line with a sharp knife before sawing and applying masking tape over the line can also help reduce splintering. Always wear goggles, hearing protection, and a dust mask, and keep the board securely clamped while cutting. If you want to avoid the hassle, many suppliers offer veneered panels pre-cut to size. This ensures perfect edges, saves time, and reduces waste, though it comes at a slightly higher cost per square metre.
Reinforcing Longer Desks
Although veneered boards are stable, they can still sag over long spans. For desks over 150cm, consider attaching a lengthwise batten or spine underneath to add stiffness. This reinforcement is simple to install and will help the desk maintain its shape and strength over time.
Positioning the Box Section Legs
When attaching the legs, position them about 5–8cm in from each end. This provides balance without protruding awkwardly. If the desk will be placed against a wall, check that the legs don’t clash with skirting boards. It’s also worth testing the legroom with a chair before fixing the legs, since box section frames can take up more space than slimmer designs.
Sanding Oak Veneer
Oak veneer needs gentle sanding to prepare for finishing. Start with a fine grit such as 180 and sand lightly with the grain. Avoid using coarse sandpaper or applying too much pressure, especially with power sanders, as you risk sanding through the veneer. Hand sanding is often the safest method, giving you more control and reducing the risk of damage.
Pilot Holes and Edge Treatments
When fixing the legs to the underside, always drill pilot holes first. This prevents the substrate from splitting and ensures clean screw placement. Veneered boards often have exposed core material on the edges, which you can soften with light sanding or cover with iron-on edge banding for a seamless oak look. A router can add a small chamfer or rounded edge, but this needs to be done carefully to avoid cutting through the veneer.
Finishing the Veneer Top
A finish protects the veneer and brings out the oak’s natural beauty. Hardwax oil is a popular choice, leaving a durable, matte finish that enhances the grain. Danish oil and tung oil also work well, giving a warm tone, though they may need reapplication over time. Varnishes and polyurethanes provide a tougher surface layer, making them resistant to spills and scratches, though they can sometimes look shinier than oil finishes. Whichever product you choose, apply several thin coats with a brush, roller, or cloth, and lightly sand between coats for the smoothest result.
Conclusion
A desk made with an oak veneer top and steel box section legs is a project that blends natural style with modern strength. The veneer provides the warmth and beauty of real oak in a lightweight, cost-effective form, while the steel legs give the desk structure and presence. Together, they create a piece that looks professional, feels durable, and fits seamlessly into a wide range of interiors.
By choosing the right thickness, cutting carefully or ordering pre-cut, reinforcing longer spans, sanding gently, and applying a thoughtful finish, you can build a desk that not only serves your needs but also looks like a piece of high-end furniture. This approach is ideal if you want the appearance of oak without the weight or expense of solid timber, making it a smart choice for stylish, practical DIY furniture.
