Reclaimed wood has become one of the most popular materials for DIY furniture. Its rustic charm, sustainability, and unique character make it ideal for projects where you want personality as well as practicality. But reclaimed wood is rarely ready to use straight away. Whether it’s scaffold boards, barn timber, or old flooring, it usually needs cleaning, straightening, and finishing before it can be turned into a dining table, coffee table, or desk.
This guide will take you through the full process of preparing reclaimed wood for furniture making, from the first clean-up to the final finish. We’ll also look at how to complete your project by choosing the right legs to suit your table design.
Step 1: Cleaning the Boards
The first task with reclaimed wood is to remove years of grime. Boards may have dust, dirt, grease, or even paint layers that need attention. Start by brushing off loose debris with a stiff brush. For heavily soiled wood, wash the boards with warm water and mild detergent, scrubbing with a stiff bristle brush. Always allow the timber to dry completely before moving on — rushing this step can trap moisture and cause warping later.
Cleaning isn’t about making the wood look perfect at this stage. It’s about removing the surface mess so you can properly assess the boards and plan the next steps.
Step 2: De-Nailing and Checking for Metal
Reclaimed wood often hides nails, screws, or staples from its previous life. These must be removed before you can cut or plane the boards, as hidden metal will damage saw blades and sanding equipment. Use pliers or a claw hammer to extract visible nails. For stubborn pieces, punch them through with a nail set.
It’s also wise to run a handheld metal detector over the boards before cutting — even tiny fragments can cause trouble. This step might seem tedious, but it saves expensive tools and ensures safety.
Step 3: Flattening and Straightening
Reclaimed boards are rarely straight. Years of use and weather exposure often leave them warped, cupped, or twisted. How much you correct this depends on the project.
For rustic coffee tables, you may decide to keep some unevenness for character. For dining tables or desks, however, you’ll want a flat, stable surface. Use a planer to flatten the boards if you have access to one. Alternatively, a belt sander and some patience can reduce high spots. If the boards are badly twisted, you may need to cut them into shorter sections and join them again to create a usable top.
Step 4: Cutting to Size
Once the boards are cleaned and flattened, cut them to the required length. A circular saw is suitable, though a track saw or mitre saw provides more accuracy. Always clamp the wood securely and measure twice before cutting.
Scaffold boards, often used for reclaimed projects, typically measure 225mm wide and 38mm thick. Two or three joined side by side make a good width for a coffee table, while four or more can form a dining table top.
Step 5: Joining Boards Together
To create a table top, the boards need to be joined. The best method is to glue the edges with wood glue and clamp them until dry. Adding dowels or biscuits helps alignment and strength, though this requires extra tools.
If you prefer a simpler approach, screw battens across the underside of the boards to hold them together. This is quick and effective but may leave small gaps visible on the surface. For rustic furniture, this is often acceptable — some even prefer the slightly uneven look.
Step 6: Sanding the Surface
Sanding is where the transformation really begins. Start with coarse grit (around 60–80) to remove roughness, old paint, or surface dirt. Progress gradually to finer grits (up to 180–240) for a smooth, touch-friendly surface.
An orbital sander speeds things up, but be prepared for dust. A mask, goggles, and good ventilation are essential. For edges and corners, hand sanding gives more control. The aim is not to remove every mark but to make the wood safe and pleasant to use while preserving its unique character.
Step 7: Choosing a Finish
Finishing protects reclaimed wood and enhances its grain. The right finish depends on the look you want and the type of furniture you’re making.
- Hardwax oil: Gives a natural matte look and excellent protection against stains — ideal for dining tables and desks.
- Danish oil or tung oil: Adds warmth and richness, though it may need reapplication over time.
- Polyurethane varnish: Provides the toughest surface, perfect for coffee tables in busy households, though it adds more shine.
Apply multiple thin coats, sanding lightly between each one for a smooth result. Reclaimed wood often absorbs finish unevenly, but this only adds to its charm.
Suitability for Dining Tables, Coffee Tables, and Desks
Reclaimed wood can be used for almost any table or desk, but there are a few things to keep in mind:
- Dining tables need a strong, durable surface and a finish that can withstand spills. Hardwax oil or polyurethane is usually the best choice.
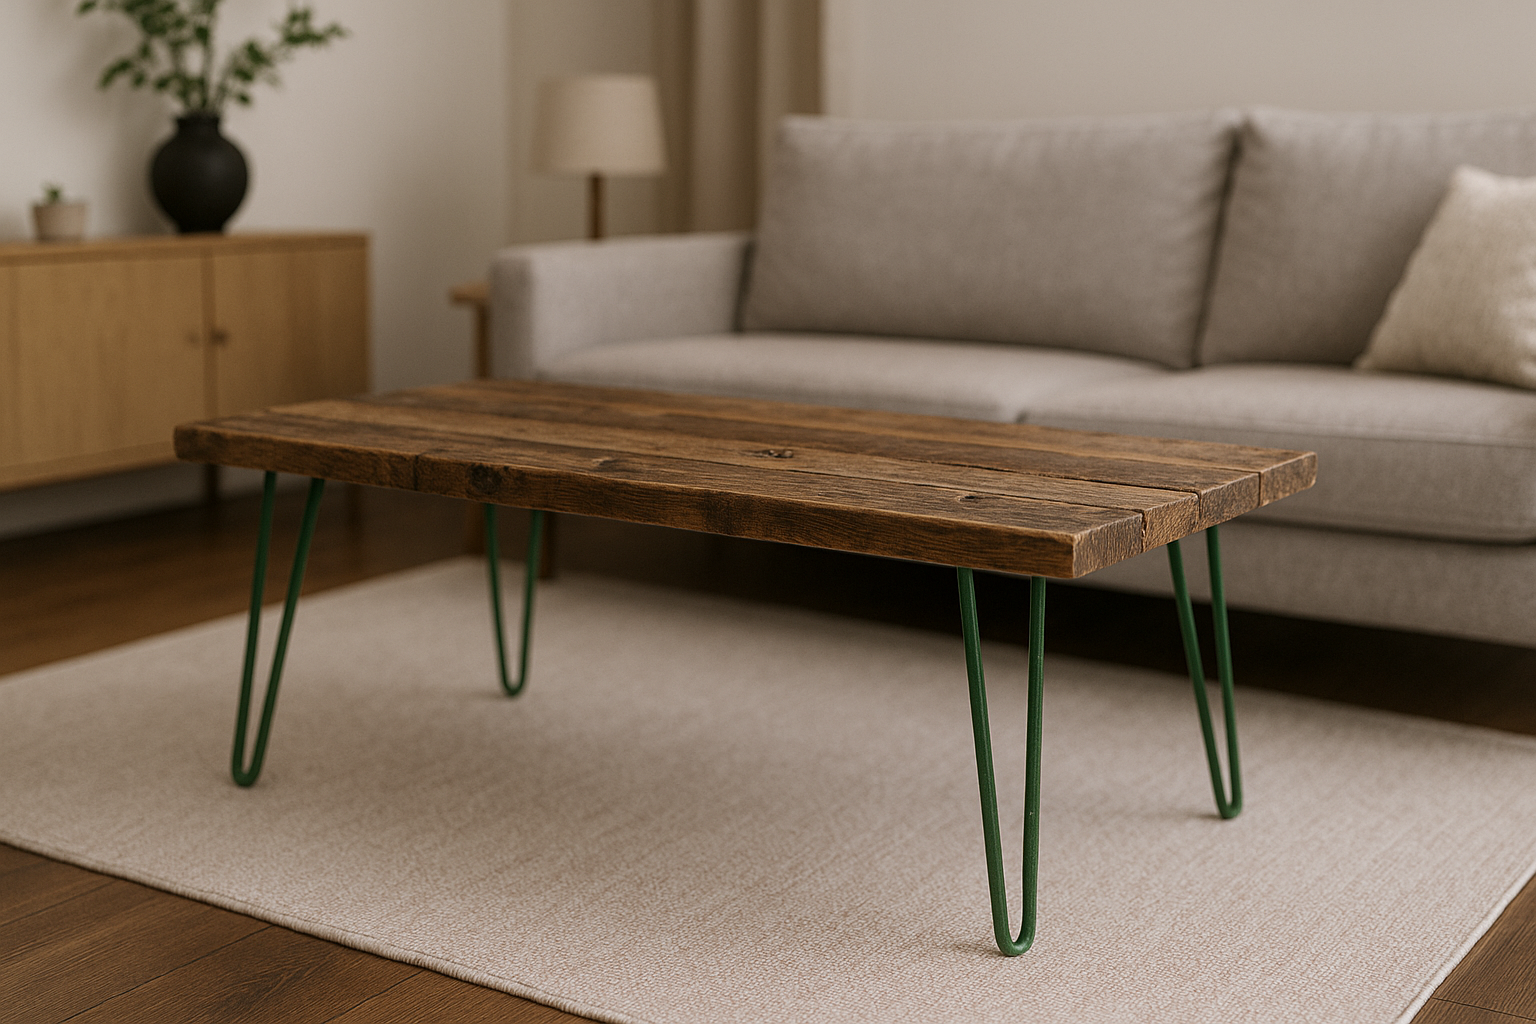
- Coffee tables benefit from reclaimed wood’s character. Smaller tops highlight knots, marks, and patina without overwhelming the room.
- Desks made from reclaimed boards can make a home office feel warmer and more personal. Just be sure to sand thoroughly so the surface is smooth enough for writing or using a laptop.
Choosing the Right Legs
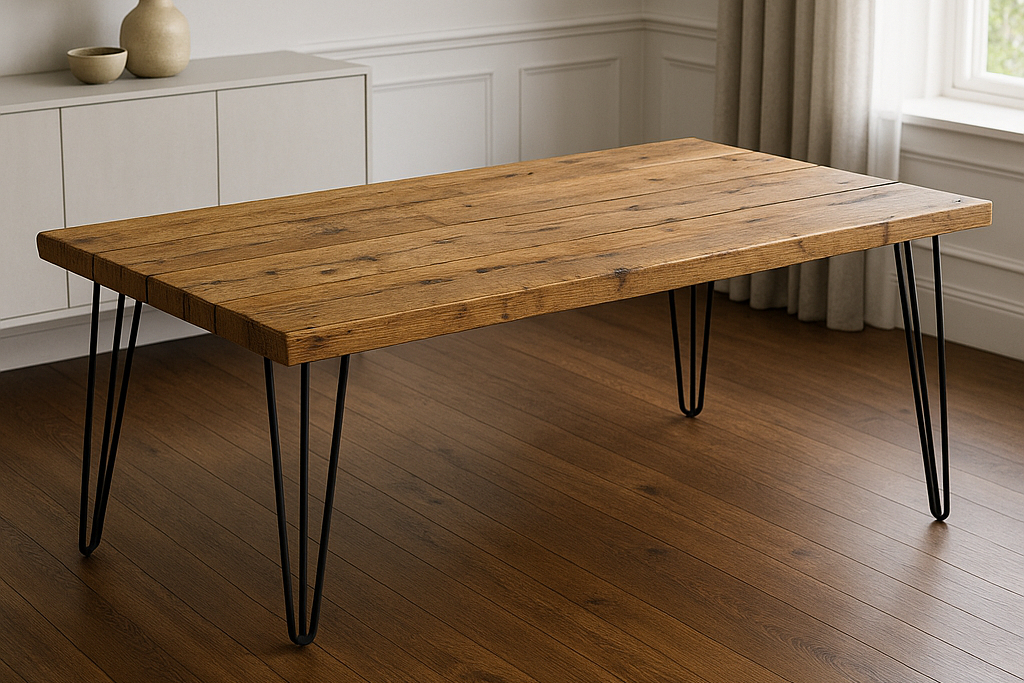
Once the top is ready, the choice of legs completes the table. Reclaimed wood has a lot of personality, so the base should balance and complement it rather than compete. Two of the most versatile options are hairpin legs and steel box section legs.
- Hairpin legs are slim, elegant, and timeless. They lift the rustic weight of reclaimed wood, making the piece feel lighter and more modern. They work especially well for coffee tables and smaller desks, where a refined look is desirable.
- Box section legs are bold, geometric, and strong. Their clean lines anchor the table visually and provide excellent stability for larger tops, making them perfect for dining tables and heavy desks. Black or raw steel creates an industrial edge, while white softens the look.
Both styles suit reclaimed wood because they contrast its roughness with modern simplicity. The choice comes down to the size of your project and the feel you want: airy and delicate with hairpins, or solid and architectural with box sections.
Conclusion
Preparing reclaimed wood for DIY furniture is a rewarding process. It takes time to clean, de-nail, flatten, sand, and finish, but the result is a table or desk that carries history and character no new timber can match. By pairing it with the right legs — hairpins for elegance or box section frames for strength — you can create a piece that blends rustic authenticity with modern design.
Whether it becomes a dining table, coffee table, or desk, reclaimed wood ensures your project is more than just furniture. It becomes a story of transformation, where old boards find a new purpose and your living space gains a centrepiece full of personality.